Basic Meringue Recipe:
- 3 egg whites
- 1 cup sugar
- Preheat oven to 200°F.
- In the bowl of a stand mixer fitted with the whisk attachment, beat egg whites on medium speed until they start to get foamy, about 2 minutes.
- When the whites are foamy, start to slowwlllyyy add the sugar. Adding too much sugar at once will deflate the egg whites, so aim for about a tbsp at a time.
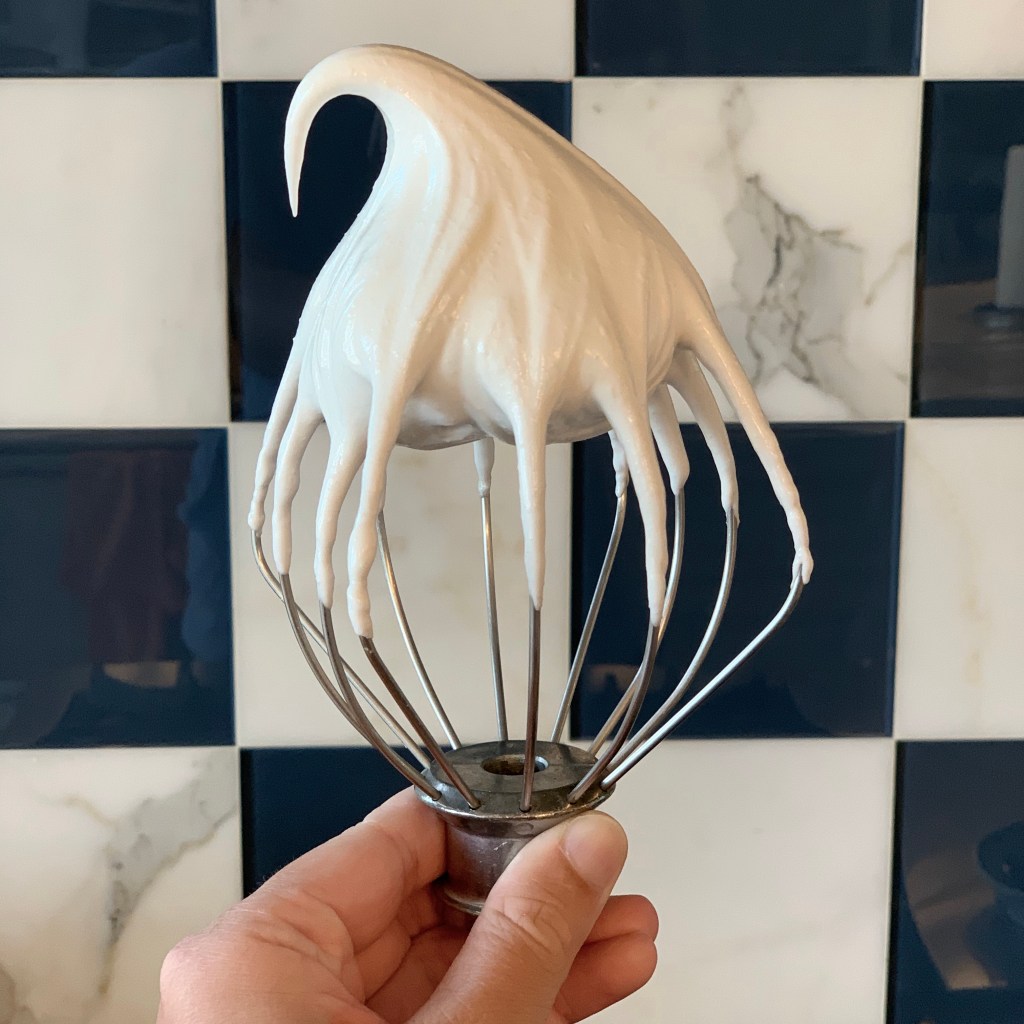
- Beat, continuing to add sugar, until the meringue is glossy and white and forms stiff peaks. To check, stop the mixer and detach the whisk, swirl it in the meringue, scoop up a dollop, and see how well it stays on the whisk. It it’s falling over, keep mixing. If it stays stiff, you’re ready to move on!
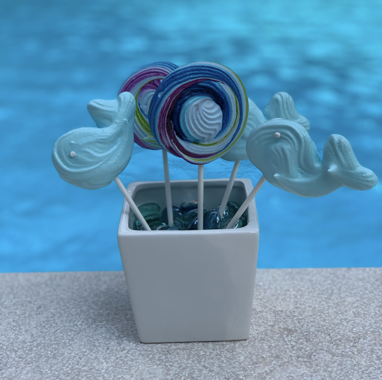
- Once your meringue reaches stiff peaks- you can do so much with it! Mix in chocolate chips, pip out into “kisses”, dye them any color – the world is your oyster! I recently gave meringue pops a try. I made a bunch of colors and piped them into shapes on paper lollipop sticks (see note below). You can pipe these pretty close together, because they don’t really spread while baking.
- Bake for about 45 minutes (they shouldn’t turn brown while baking), then turn off the oven and let them sit in there without opening the door. I usually let mine sit for 1-2 hours, because I like them to still be chewy on the inside, but I’ve kept them in overnight for crunchier cookies.
- Yields ~2 cookie sheets worth of cookies or pops
Note about piping shapes:
- Start off by piping a blob of meringue to push your stick into, then pipe your shape over it.
- I used a flat tip for the ice cream cones, just piping back and forth, tapering off to the end of the cone. For the blue and pink ice creams, I used a star tip and “dotted” out the shape of the ice cream scoop. For the white ones, I used a round tip, outlined the shape and filled it in. Top with sprinkles to make them extra adorable!
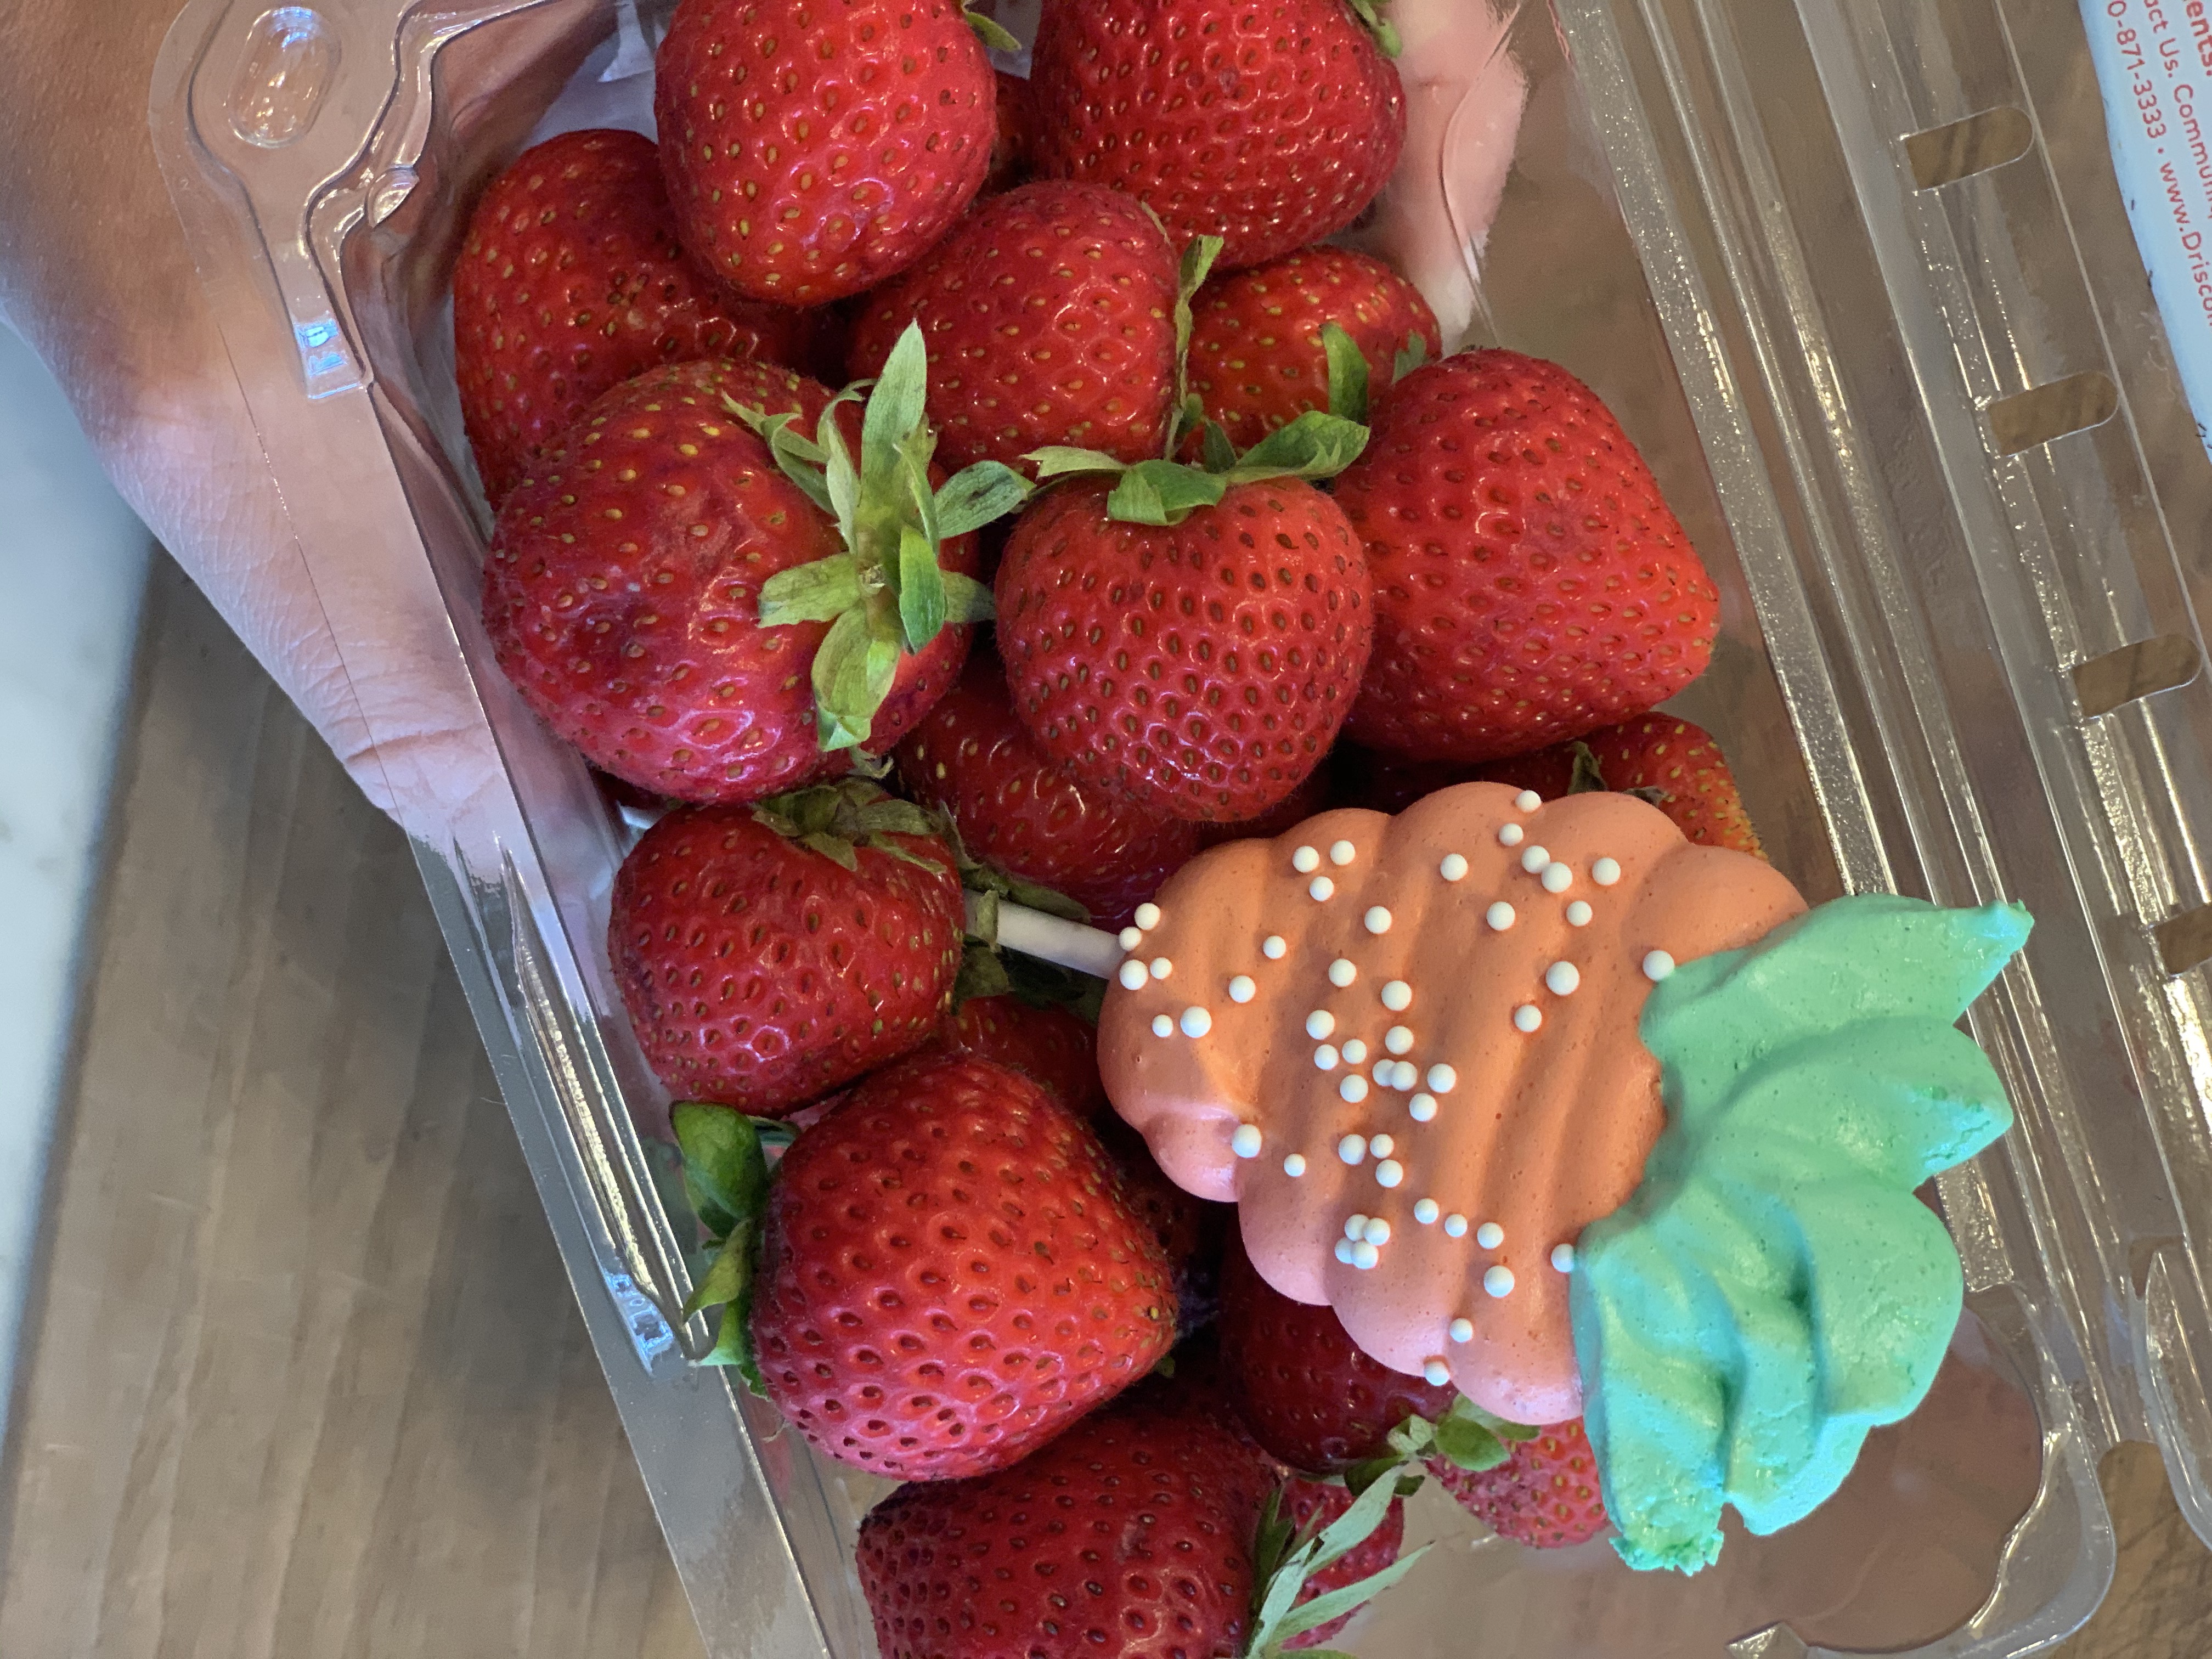
- For the pineapple I used a star tip to make the pineapple itself, and a leaf tip for the top (same for the strawberry leaves!)
- I used a star tip for the lollipop ones, and painted a thick line of dye on the inside of the bag before adding the meringue to get the swirl of colors. Then I piped in a spiral, starting in the center.
- For most shapes, use a round tip to pipe out whatever shape you can think of!

Meringue is one of my favorite cookies to make because it is delicious, easy, impressive, and versatile. I’ve made meringues for every holiday, piped, dollop-ed, with chocolate chips, as a base for mixed berries- you name it, I’ve meringued it.
Meringue pops have made me love this lil cookie even more! It’s true what they say- everything really is better when it’s on a stick! These were so easy and the results were adorable!
The struggle for me really set in after they came out of the oven, when I realized I had a couple trays of adorable cookies, and I had to properly capture their beauty. I wanted to try out all kinds of backgrounds and locations and lighting, so I ended up carrying these puppies all around my house, recruiting assistance (peep my mom, as hand model), and took precisely 7563279 pictures.

Note to others: I highly recommend **not** photographing meringues outside, in the sun, in 90+ degree weather, because they will start to melt, which definitely makes it harder. The good news is that taste matters more than presentation (in my book at least) and even melty, they were excellent!

